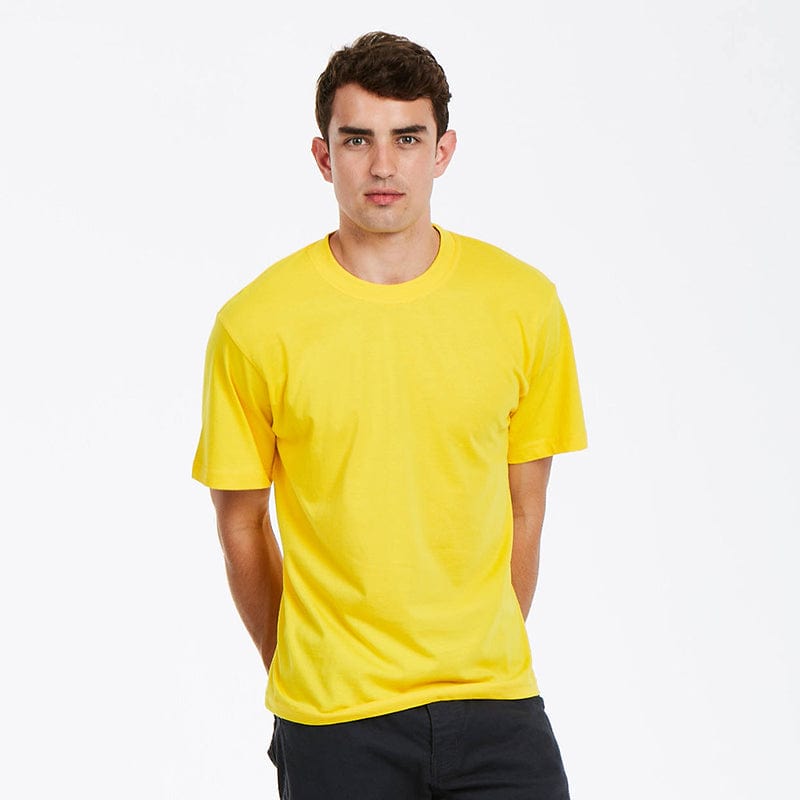
Large branded clothing orders become much easier when the requirement is treated as a project rather than a very large shopping basket. Whether you are clothing 100 employees, 500 event staff or 1,000 participants, the key is to control quantities, sizes, garment specifications, artwork and deadlines before production starts.
What changes when the order gets bigger?
At larger quantities, small mistakes become expensive. One incorrect logo position, unsuitable garment or inaccurate size list can affect hundreds of items. Create one agreed specification before the order moves into production.
Step 1: define who the clothing is for
Break the total headcount into groups such as staff, event crew, volunteers, front-of-house teams, supervisors, departments, locations or participant groups. Each group may need a different garment, colour or branding treatment.
Step 2: calculate the actual garment quantity
Headcount and garment quantity are not always the same. A 500-person team may require more than 500 garments if each wearer needs multiple T-shirts or a combination of polo, sweatshirt and outer layer. Equally, event merchandise should not automatically be ordered for every attendee unless it is included with registration.
Step 3: collect real sizes
For known wearers, actual size collection is more reliable than applying a generic percentage split. Use the size guide for the exact garment being ordered. Our Team Uniform Size Collection Sheet is designed to make larger size lists easier to organise.
Step 4: create one approved garment specification
Record the brand, style code, colour, size range, branding method, logo position and artwork version for every garment in the range. This becomes particularly important when several departments, sites or events need the same clothing.
Step 5: separate core branding from variable information
A company or event logo may be identical across the whole order while role names, sponsor marks or departments vary. Identify those variations before artwork approval so they can be controlled rather than discovered during production.
Step 6: build the deadline backwards
For events, launches and fixed start dates, give the required delivery date when requesting the quote. Allow time for sizing, artwork, approval, production and delivery. A fixed event date should be treated as a core part of the brief.
Step 7: decide how repeat orders will work
If the clothing will be needed again, avoid choosing the first available garment purely because it is cheap. Consider whether the range is suitable for future top-ups and keep the approved specification so replacements remain consistent.
Information to include in a large-order quote
- Approximate total garment quantity
- Number of wearers
- Required delivery date or event date
- Garment types
- Colours
- Role or department variations
- Size information available so far
- Logo and artwork files
- Required branding positions
- Delivery location
- Whether this is a one-off or recurring requirement
If you are planning a substantial order, request a business quote. You do not need every final size before making the initial enquiry. Give us the quantities and deadline you know, and include the remaining information available.