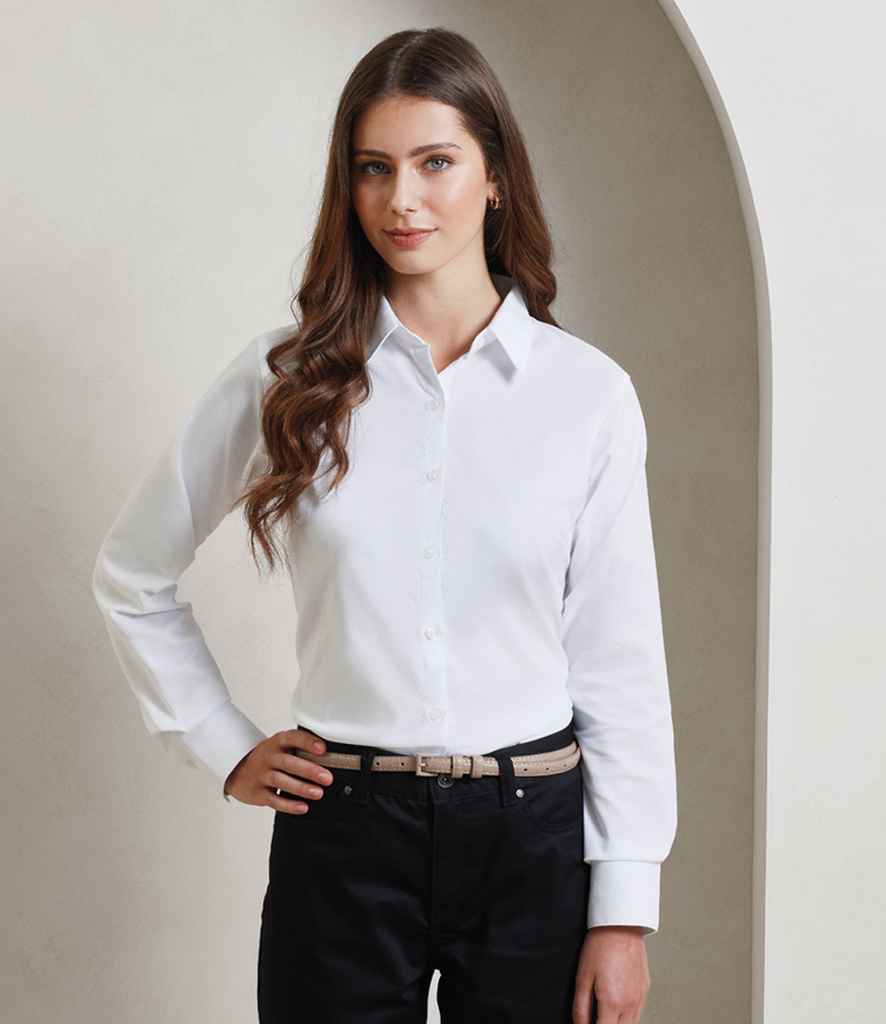
Sizing is one of the easiest places for a team uniform order to go wrong. Different brands and garment styles can fit differently, and a size label on one product does not guarantee an identical fit on another.
Use the size chart for the exact garment
Always use the manufacturer's size information for the style being ordered. Do not apply the size chart from one polo, trouser or tunic to a different product simply because both use the same S, M, L or numeric labels.
Measure people rather than guessing
For a larger order, collecting measurements or confirmed garment sizes before finalising quantities is more reliable than estimating a size split. The measurements required will depend on the garment, so follow the size chart and fitting guidance shown for that product.
Use our Team Uniform Size Collection Sheet to record each employee's confirmed garment, product code and size before branding starts.
Understand body measurements versus garment measurements
Some guides show body measurements while others show the finished garment measurements. These are not the same thing. If a guide gives garment measurements, compare them with a similar garment that already fits the wearer well rather than measuring the body and treating the numbers as interchangeable.
Consider the intended fit and layers
A fitted shirt, unisex sweatshirt and work jacket are designed differently. Think about how the garment is meant to be worn and whether staff will layer clothing underneath it. Outerwear may need additional room compared with a garment worn directly over a base layer.
Check the full size range before choosing a team style
Before choosing a style for the whole team, confirm that it is available in every size you expect to need. Some garments extend further into smaller or larger sizes than others. Larger sizes can also carry a different price, so this should be accounted for when comparing products and budgeting.
Use samples when the order justifies it
For larger teams or a new uniform programme, testing representative sizes before approving the full order can reduce exchanges and help confirm the preferred fit. This is particularly useful when staff are moving to a brand or garment cut they have not worn before.
Check men's, women's and unisex fits separately
Do not assume the same nominal size will translate across different cuts. A wearer might take one size in a unisex polo, another in a fitted shirt and require additional room in outerwear. Keep the confirmed size against the exact product code.
Keep a size record for repeat orders
Once a team is established, keep an internal record of the approved garment and each employee's confirmed size where appropriate for your organisation. When the garment changes, size again rather than automatically carrying the old size across to a new style.
Do sizing before decoration
Branded garments are normally harder to return or exchange than undecorated stock, so sizing should be resolved before embroidery or print is applied. Confirm the garment, colour and sizes before approving decoration.
Create a repeatable sizing workflow
- Choose the exact garment and use its current manufacturer size guide.
- Confirm whether the guide uses body or garment measurements.
- Collect sizes privately and set a deadline for responses.
- Trial representative sizes where fit is uncertain.
- Record the exact product code and confirmed size for each wearer.
- Check the final size schedule against the purchase order before decoration.
Allow for role and garment differences
A wearer may need one size in a fitted shirt, another in a unisex polo and more room in outerwear. Do not create a single permanent 'uniform size' and apply it to every product. Keep the confirmed size against the specific product code, and review it when the garment changes.
Control late changes
Set a final approval point before decoration. If a size changes after branding has started, record who accepted the change and whether the garment can still be used. For new starters, order from the approved list rather than substituting a similar-looking style without review.
Useful sizing tools
Use the Team Uniform Size Collection Sheet alongside the manufacturer size guide for the exact brand and garment you are ordering.
Browse our uniform and workwear range or request a quote if you need help building a size range for a team order.