Knowledge Hub

Embroidery Logo Setup: What Businesses Need Before Ordering Workwear

5 September 20262 min read
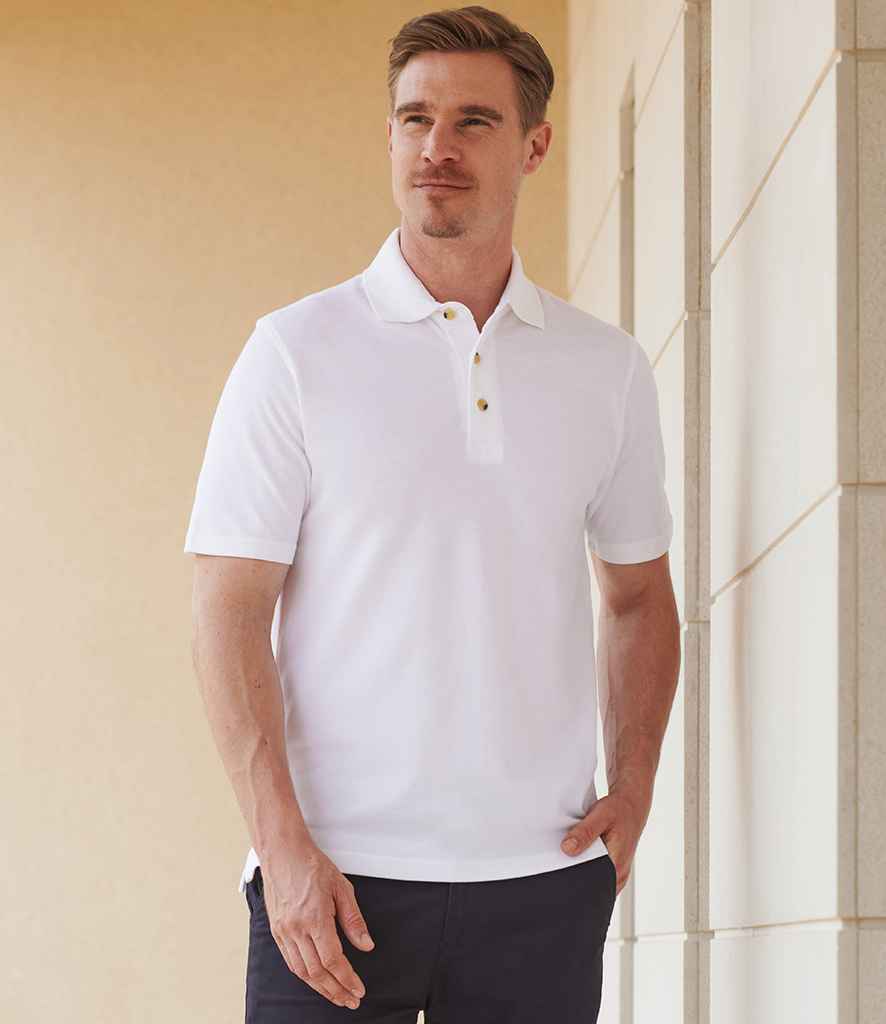
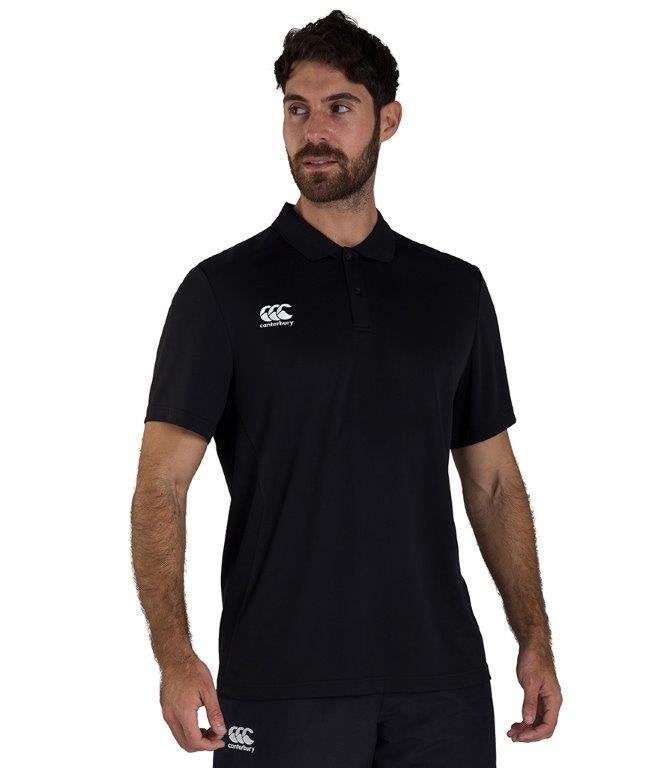
Polo shirt model for embroidery logo setup guide

Getting an embroidered logo right starts before the garment reaches an embroidery machine. Clear artwork, sensible sizing, the correct garment and an agreed position all affect the finished result.

Start with the best logo file you have

Provide the original logo artwork where possible rather than a screenshot copied from a website or email signature. A supplier can then assess the artwork properly and prepare it for embroidery.

Why an embroidery file is different

An embroidery machine does not simply print an image with thread. The artwork needs to be converted into stitch instructions. Very small lettering, fine lines and complex detail may need adjustment so the finished logo remains clear.

Choose the logo position

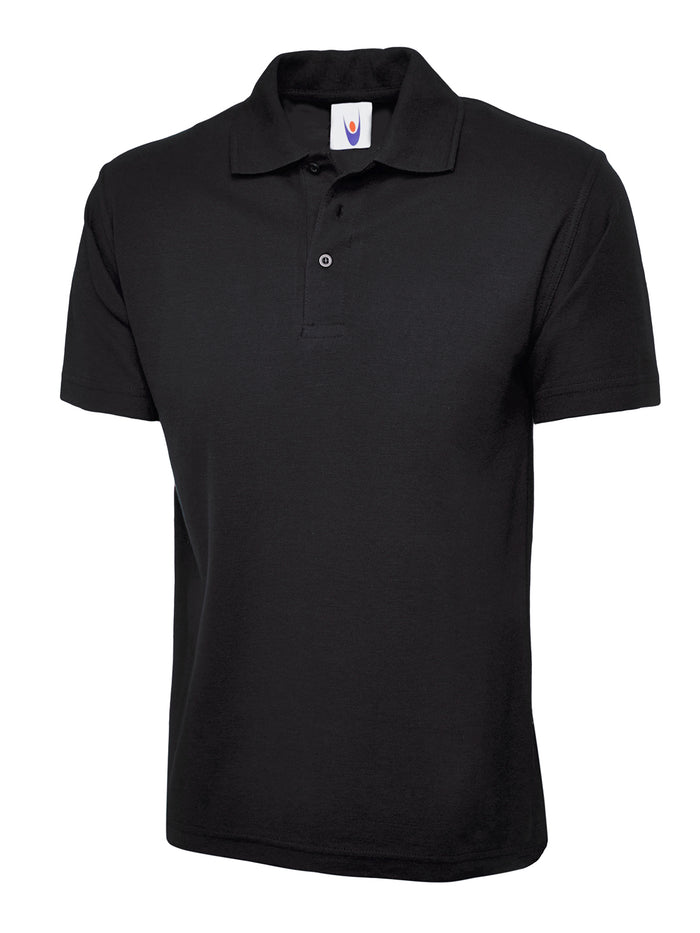
Left chest is common for polos, shirts, sweatshirts, fleeces and jackets, but pockets, seams, zips and garment panels can affect the available space. Decide the position using the actual garment rather than assuming every style is identical.

Choose an appropriate size

Bigger is not always better. The logo needs to look proportionate on the garment and remain practical across the full size range. A logo approved on a large jacket should still make sense on the smallest garment in the order.

Confirm thread colours

Screen colours and thread colours are not identical. Where brand colour matching matters, provide recognised colour references if available and approve the proposed thread colours before production.

Check the garment fabric

Stable fabrics and lightweight performance fabrics behave differently under embroidery. The garment, backing and stitch construction need to work together. For some artwork or garments, print may be a better option. See our embroidery vs printing guide.

Think about names and job titles separately

If garments need individual names, departments or job titles, provide the wording in a clear list and check spelling before production. These personalisation details should be treated separately from the main company logo.

Approve before the main order

For a new logo setup, check the proposed appearance, size, position and colours before authorising the full run. Larger or more complex requirements may justify a physical sample.

Keep the specification for repeat orders

Record the approved logo, thread colours, size, position and garment codes. This is one of the simplest ways to keep future orders consistent when new employees join or replacement garments are required.

Ordering embroidered workwear?

Browse our polo shirts and business workwear ranges, or request a business quote for a larger team requirement.
Need help with your uniform order?

Tell us what you need, the approximate quantities and any branding requirements. We can help you compare the right garments for your team.

Request a Business Quote
← Back to Knowledge Hub

See it in practice

Uniform ideas related to this guide

A few real garments from the Love My Uniform range to help make the guidance easier to picture.

View Polo Shirts →

Keep the final choice controlled. Once a garment works, record the manufacturer, product code, colour, size and branding position so future orders reproduce the same uniform rather than starting again.

LMU buyer tip: Keep the garment code, manufacturer colour, confirmed size, branding position and approved artwork together as one specification. It makes replacements and new-starter orders much easier to reproduce.

Questions buyers often ask

Why might small text need changing?

Very small lettering and fine detail can lose clarity when converted into stitches. The artwork should be assessed at the intended finished size before production.

Can the same logo setup be used on every garment?

Not always. Pockets, seams, zips, stretch and fabric weight can change the usable decoration area, so each garment family should be checked.

What should be saved for a repeat order?

Keep the approved artwork, colours, finished size, decoration method, position and exact garment code together.

Choose workwear from the task outwards

Start with what the wearer actually does rather than the industry name. A driver, warehouse operative and customer-facing supervisor in the same company may need different clothing.

  1. List indoor, outdoor and mixed working conditions.
  2. Identify movement, kneeling, reaching and layering requirements.
  3. Check pocket and storage needs against tools or equipment actually carried.
  4. Check garment care instructions against the expected wash routine.
  5. Keep any required PPE decision tied to the organisation's own risk assessment rather than treating ordinary branded workwear as PPE.
  6. Only then choose branding method and position.

Logo handover checklist

Send the best original artwork available rather than a logo copied from a website or email signature. Alongside the file, state the intended garment, colour, position and approximate finished size. If brand colours are controlled, include the relevant brand colour references too.

Before production: check spelling, logo orientation, colours, personalisation and position on the proof. Keep the approved version with the garment specification for future reorders.